Home » Birth Story | Fresh 48 » Tips & Tricks for DIY Birth Photography | Utah/Arizona Birth Photographer
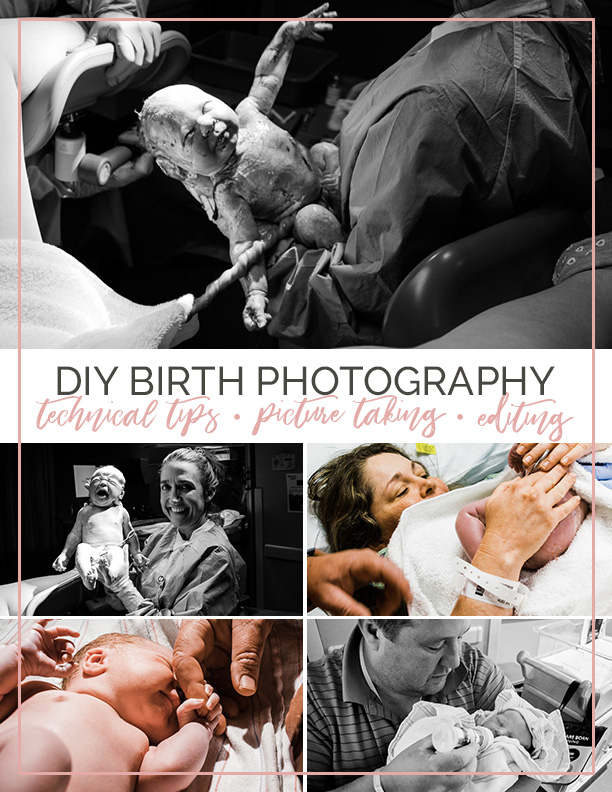
DIY Birth Photography
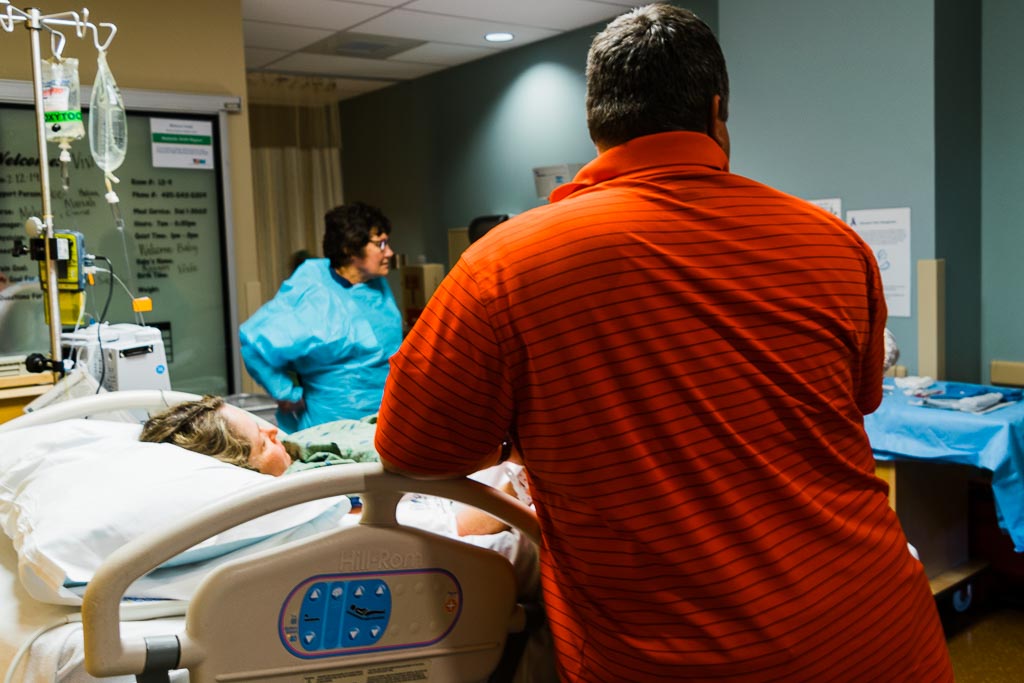
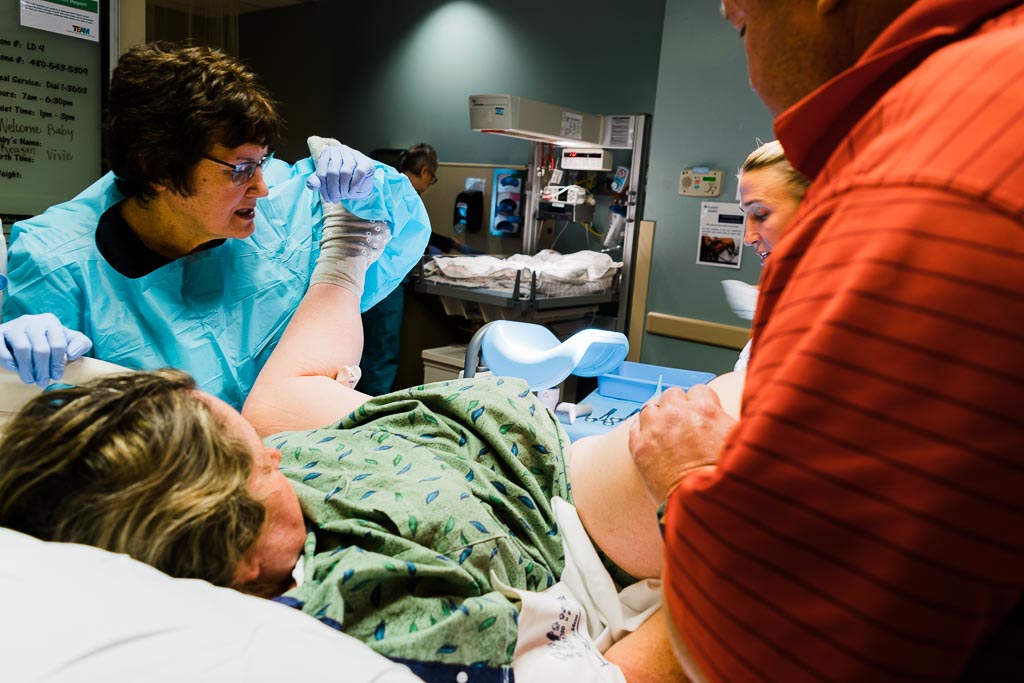
Almost exactly 9 months ago and just after they’d finished paying us a visit, Matt’s dad and step-mom gave us the best and most surprising news! They were expecting an unexpected and unplanned, miracle baby. Since then we’ve been holding our breath waiting for her big arrival. I was hoping to make the trip down to document her birth myself but it just didn’t work out.
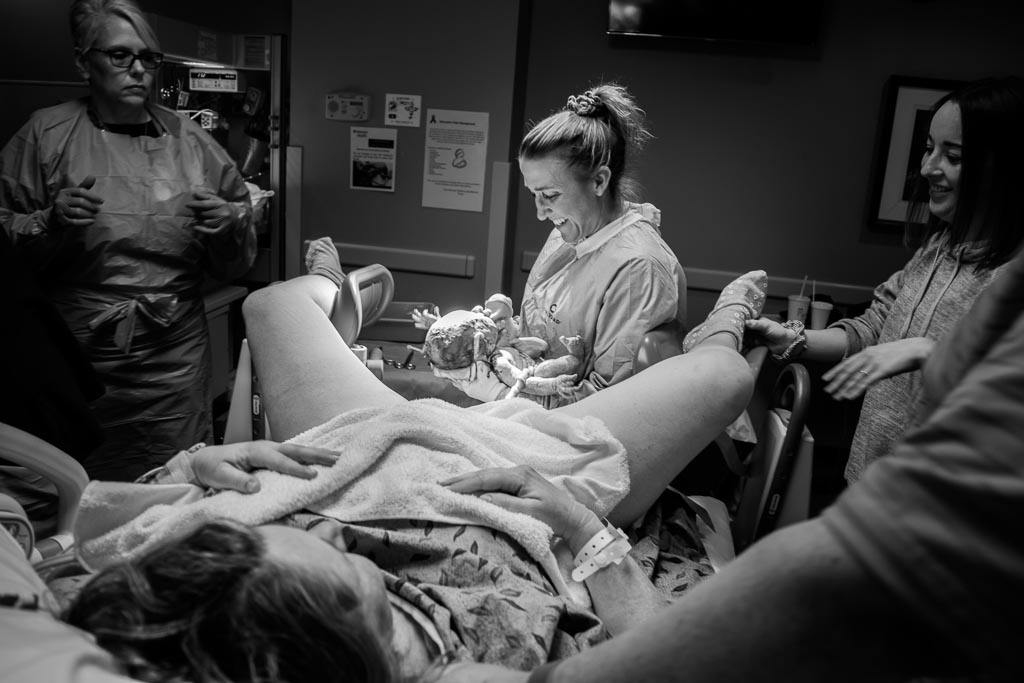
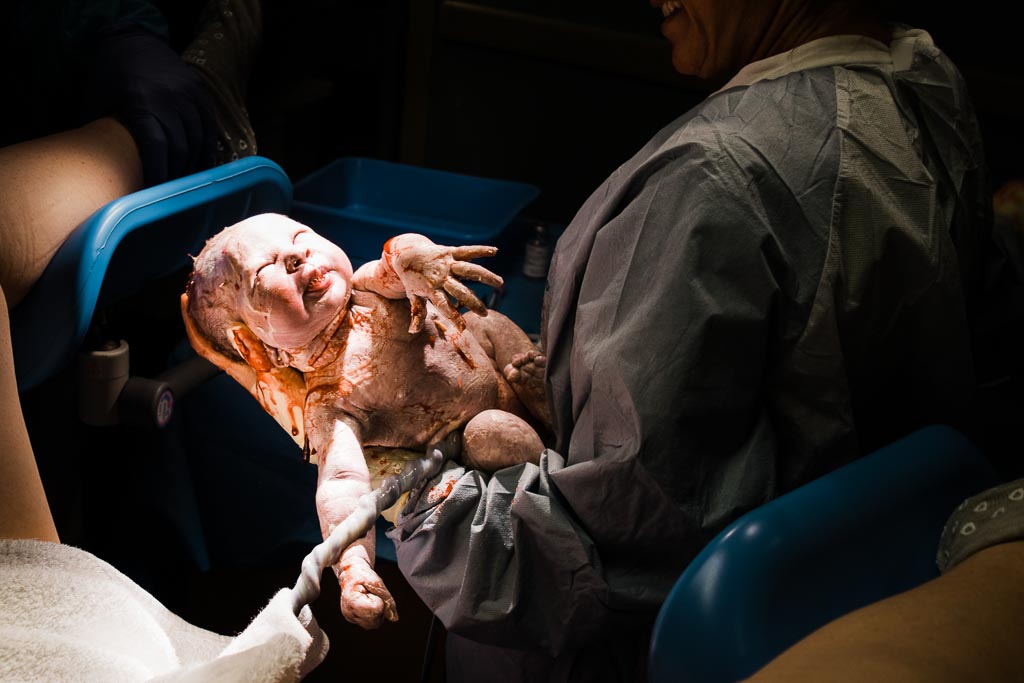
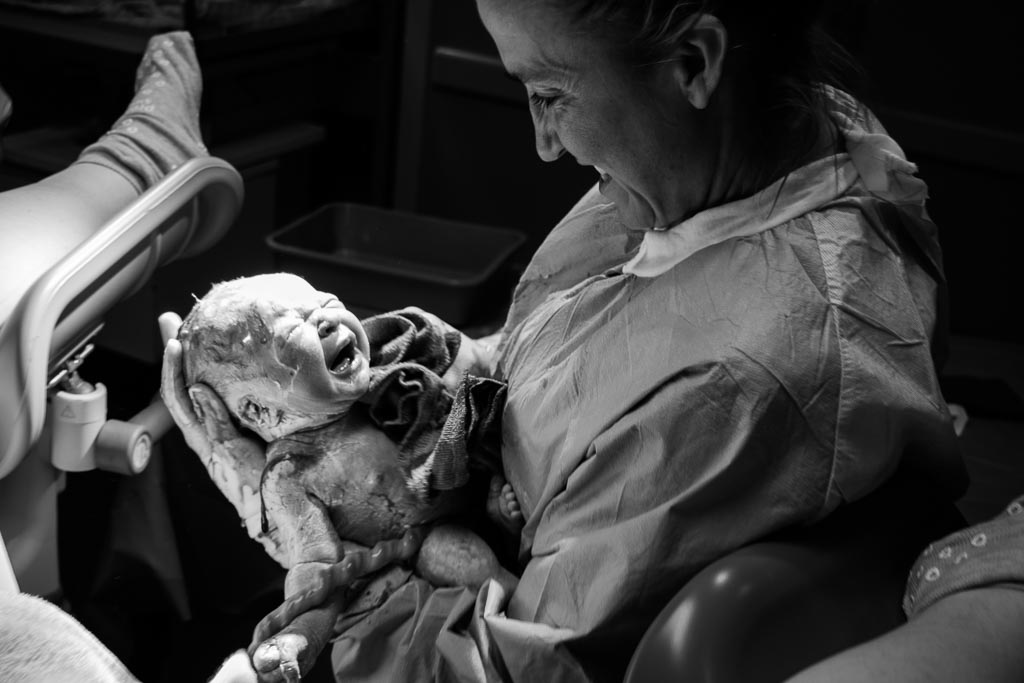
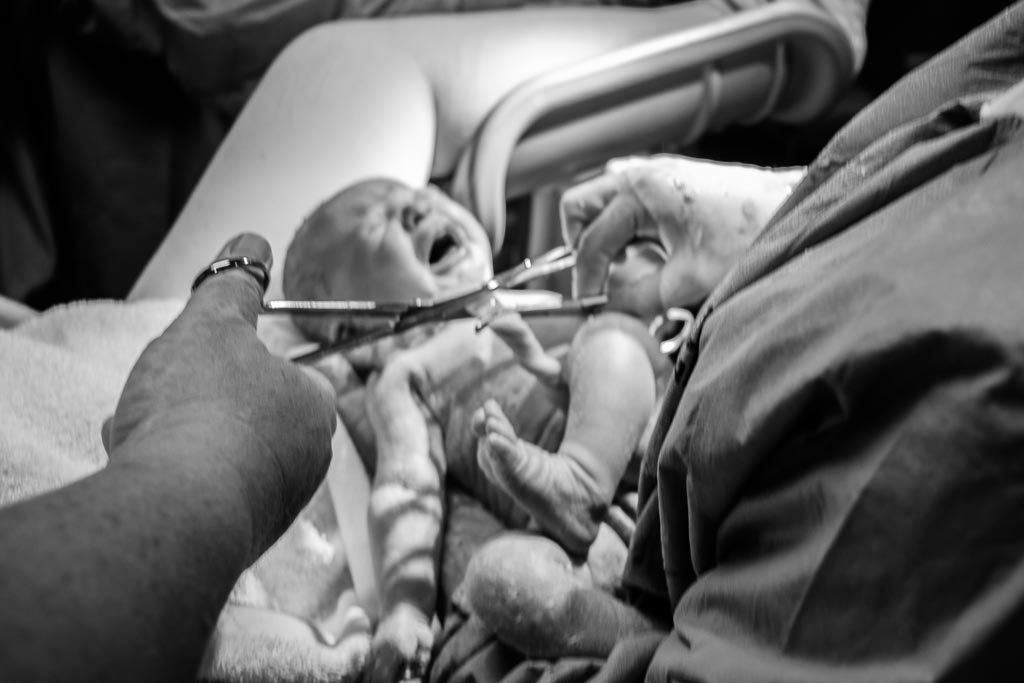
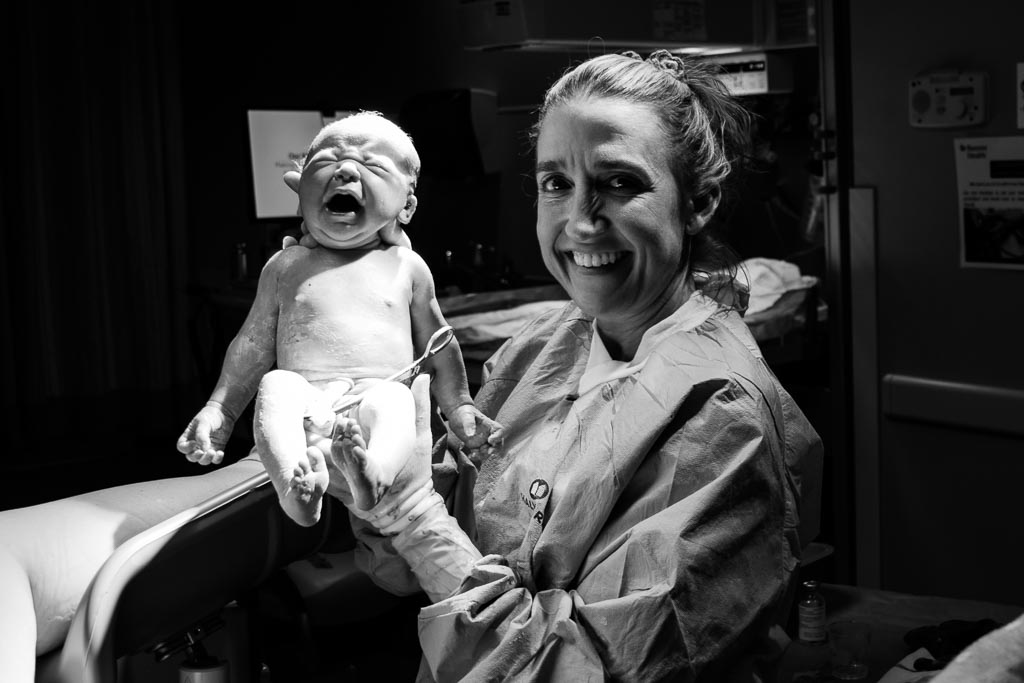
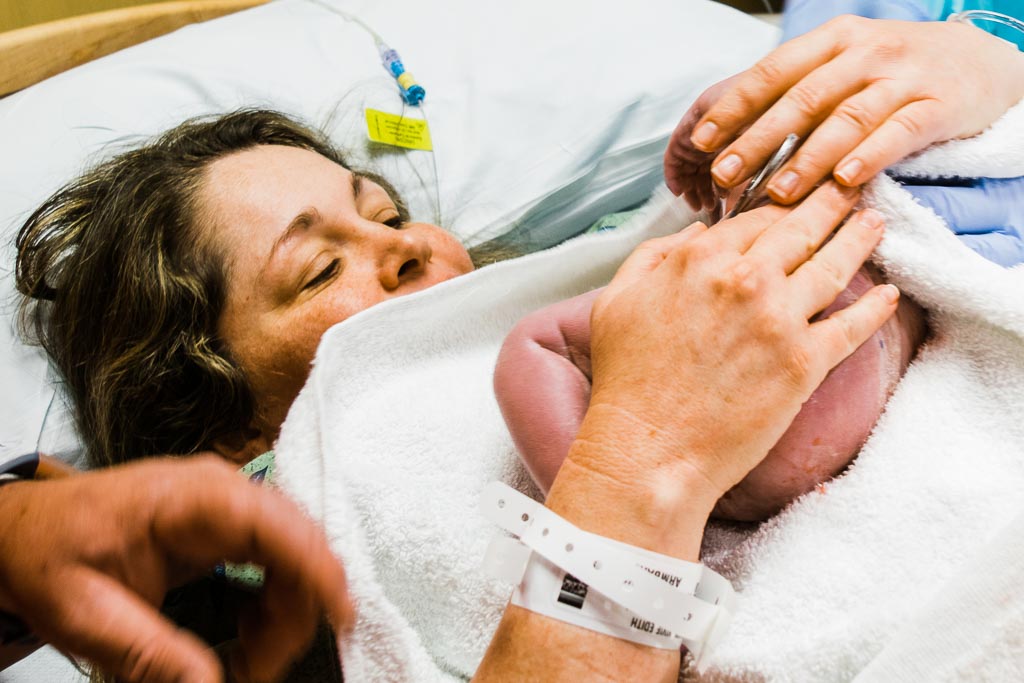
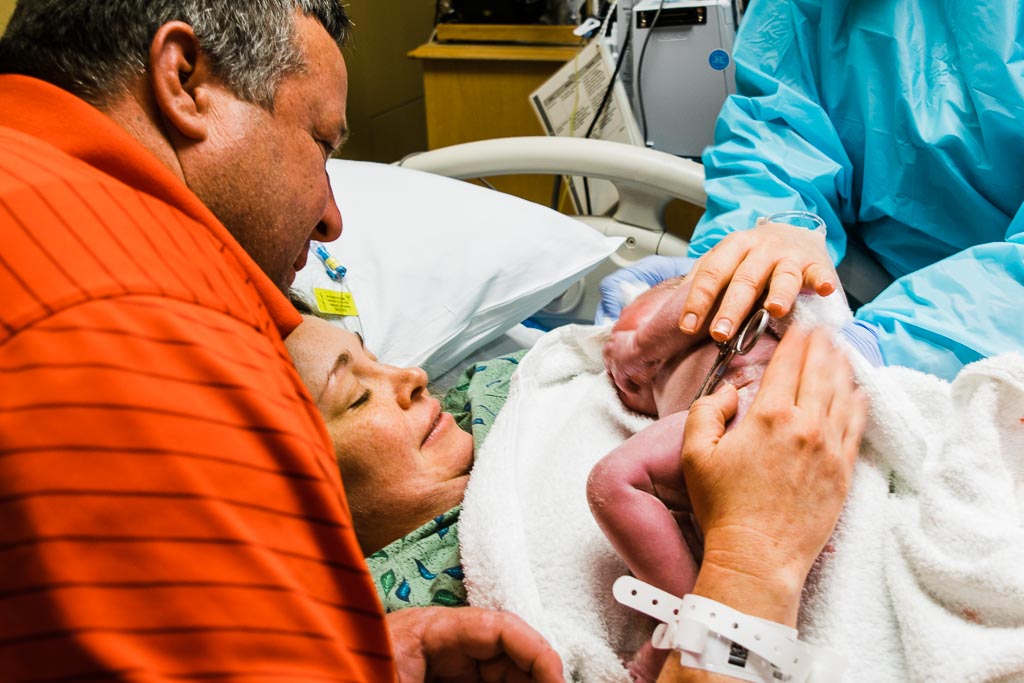
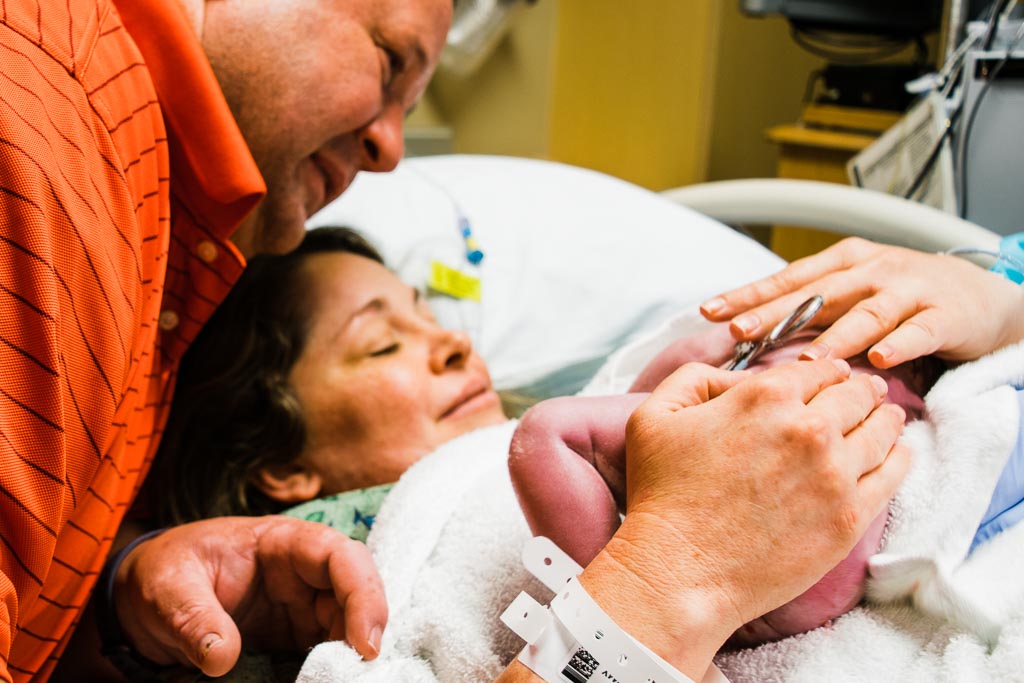
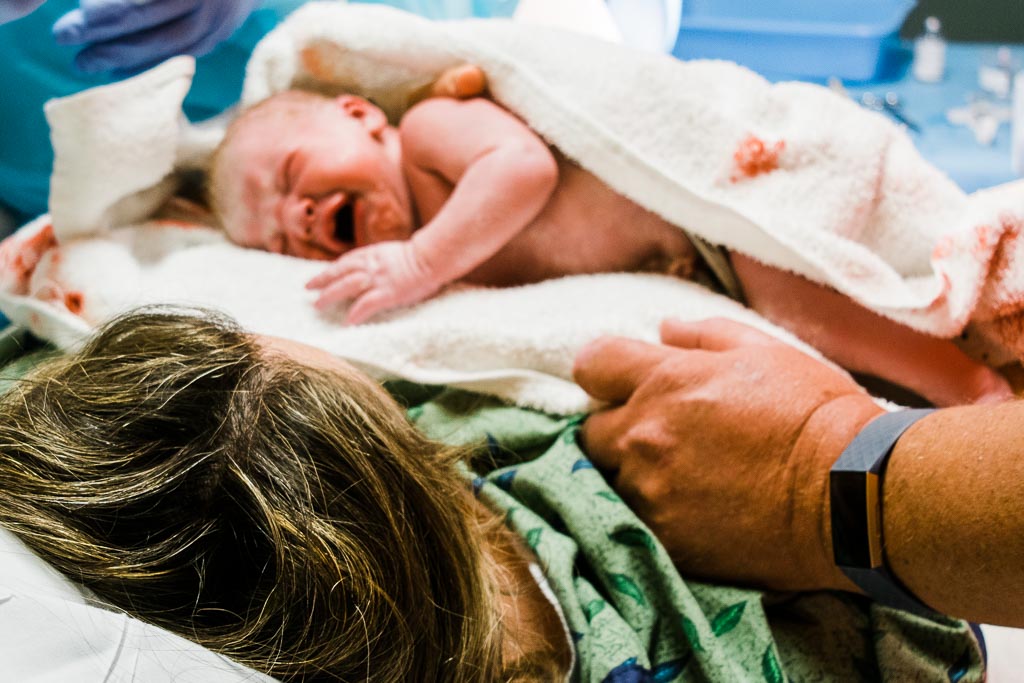
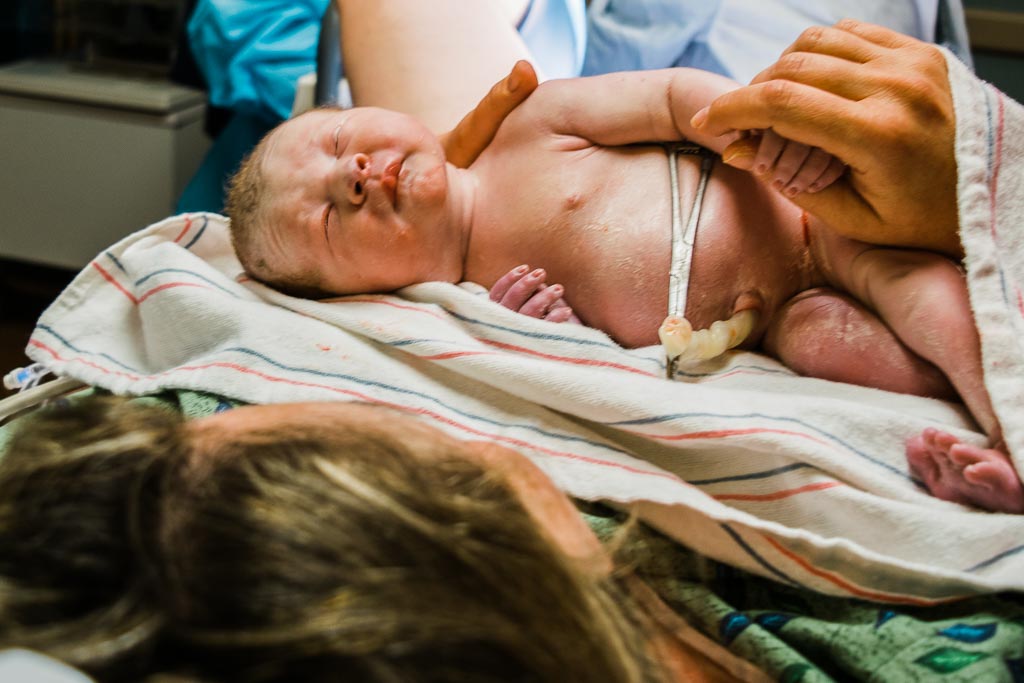
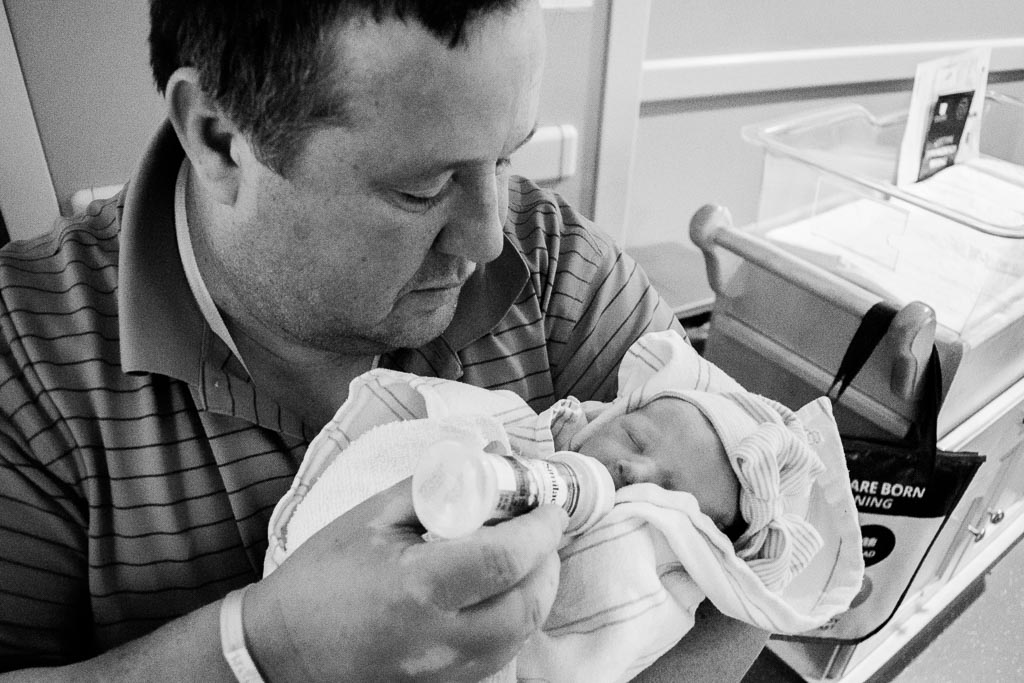
On the morning of her induction I learned that my sister-in-law Mariah was at the hospital and had access to a DSLR camera. I got her on the phone and walked her through the basics to capturing this moment and just look what an amazing job she did! She took ALL the pictures in this post, I only edited them.
So now I’m going to share with you the exact advice I gave her so you can DIY birth photography and capture amazing moments just like this one!
A Note Before We Get Started
First I have to say; Husbands, this post ISN’T for you! I would never want to distract you from your real job which is to support your laboring wife and focus 100% on her and baby. So invite a sister, mother, in-law, cousin, or friend to hold the camera and leave dad free to do his job because it’s an important one!
And second, if this moment and these pictures are REALLY REALLY important to you, please consider investing in a professional. These tips will help but they will never replace the years of education, experience, and talent a professional has carefully cultivated over the course of years.
Okay. Ready to jump in? Here we go!
The Technical Stuff
RAW vs JPG
JPG files are compressed image files. They are harder to edit because the camera makes its own adjustments to things like white balance, saturation, and sharpness when saving the image and much of the original data is compressed out of the file. This means when it gets these adjustments wrong they’re almost impossible to undo.
RAW files on other hand are essentially the complete opposite. When the camera sensor capture the image ALL the data is preserved in the file. This means when you go to edit you will have a lot more freedom and control.
However, there are a few things you should be aware of when it comes to RAW files. Each camera manufacturer has their own format and file extension so when you go to download your images you’ll want to convert them into a universal RAW format. You will also need software that can read the RAW files to do your editing. And finally, before you share your images on social media or anywhere else you’ll have to convert them to JPG, but don’t worry! I I will walk through all that later!
The bottom line is, to maximize your DIY birth photography images, you’ll want to shoot in RAW if your camera has the capability.
Memory Card
As I mentioned, RAW files are uncompressed which means they will take up about 4x’s the space on your memory card as JPG files. Because of this I’d recommend you have at least 32gb of memory on hand for your DIY birth photography, and I would feel more comfortable with 64gb.
You can get one memory card with lots of space or a combination of memory cards in smaller denominations. If you opt for multiple cards with smaller capacity make sure you keep an empty one in your pocket for quick change outs during clutch, can’t miss moments.
When shopping for memory cards, pay attention to the transfer rate. The transfer rate is listed as MB/second and means how many MB can be transfered from the camera memory to the memory card for storage in one second.
RAW files are big and add up fast, if your transfer speed isn’t fast enough your camera will get stuck buffering as it transfers files to the memory card. While it tries to catch up it won’t let you take more pictures which may result in missing crucial moments.
I recommend something with at least 40mb/s, faster if it’s available and you can afford it. For context, my memory cards have a transfer rate of 120mb/s.
Aperture Priority
For DIY birth photography I recommend shooting in aperture priority. That’s right! We’re getting you out of Auto. I shot in this mode for a LONG time and learning how to use it will improve your photography across the board!
First let’s talk about what the aperture is. Aperture is the variable hole through which your camera allows in light when it captures an image. So when we talk about setting the aperture we’re talking about how big or small we want that hole to be. Aperture is measured in fractions so an aperture of 1/2 means the hole is half way open. This also means that 1/2 is open more than 1/200. It’s important to remember this because sometimes they drop the 1/ and just call it 2 or 200 and you have to understand that the smaller number still translates to a bigger opening.
Shooting in aperture priority means you tell the camera where to set the aperture and the camera decides where to set the rest of the settings to give you the most correctly exposed image. Because you’ll be inside a (most likely dim) hospital room I recommend opening the aperture up to about 1/4 or as wide as you can if you can’t go as wide as 1/4. Some camera lenses can open wider but I’d caution against it since letting in too much light can result in blurry and over exposed images. Remember to take some test shots and if you need a little more light open the blinds or ask the laboring mother if you can turn on some lights.
To set your camera in aperture priority google the specific make and model of your camera for instructions. Usually it’s as simple as turning the dial on top of your camera.
Taking Pictures
You might think figuring out what to take pictures of is the easy part, but it’s easy to get stuck wondering what you should be documenting. I have three tips you can remember so you will never draw a blank.
1. Tell the Story
The #1 purpose of any birth photographer is to tell the story of a strong laboring mama, her awesome support people, and baby’s first moments. IT’S A STORY, it has a beginning, middle and end with a climax and resolution. When you are stuck wondering what you should take pictures of next, think about what is going on in the overall story at that exact moment and capture that.
Keep in mind that labor can be LONG, don’t feel like you need to be taking pictures every second. Mom will be taking rests and you should too.
2. Capture the BIG picture
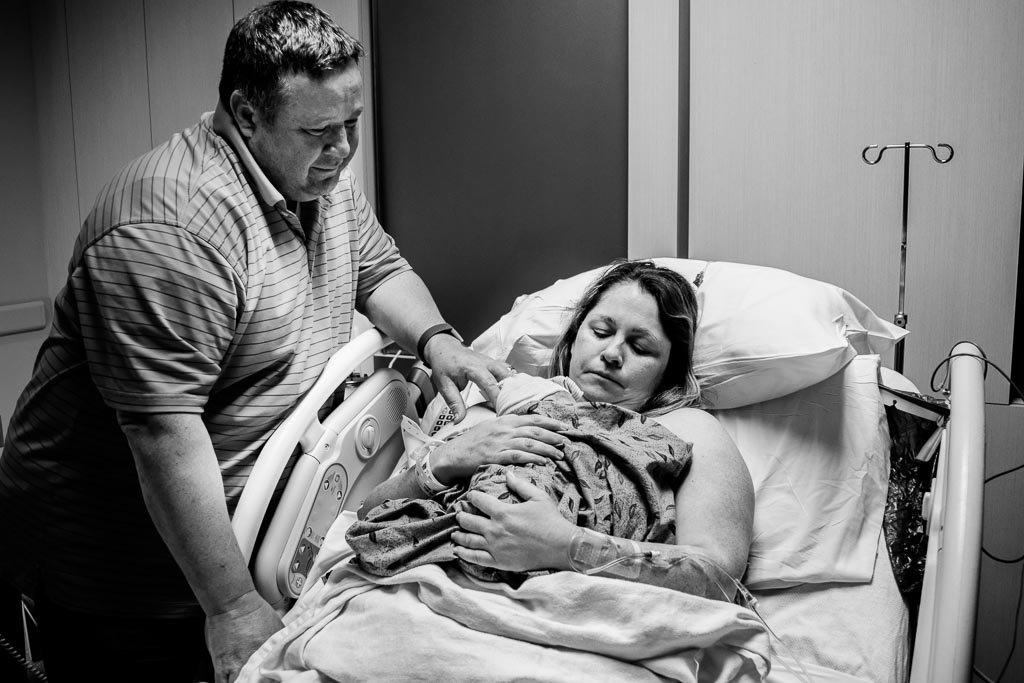
When you read a book the author takes time to set the scene, you want to do the same with your DIY birth photography. Take a picture of the outside of the hospital/birth center, the hallways leading to the room and the room number and take a wide shot of the hospital room. When things get intense, take a step back and capture the chaos of the moment from afar. It will give your story room to breath and bring diversity to your images.
3. Move in for the little moments
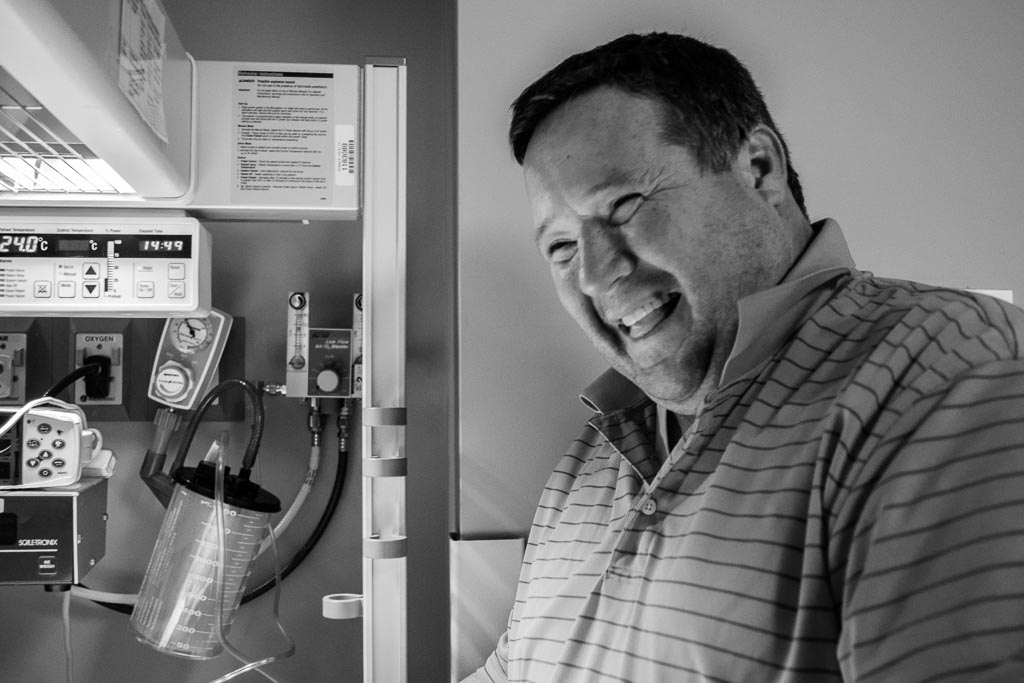
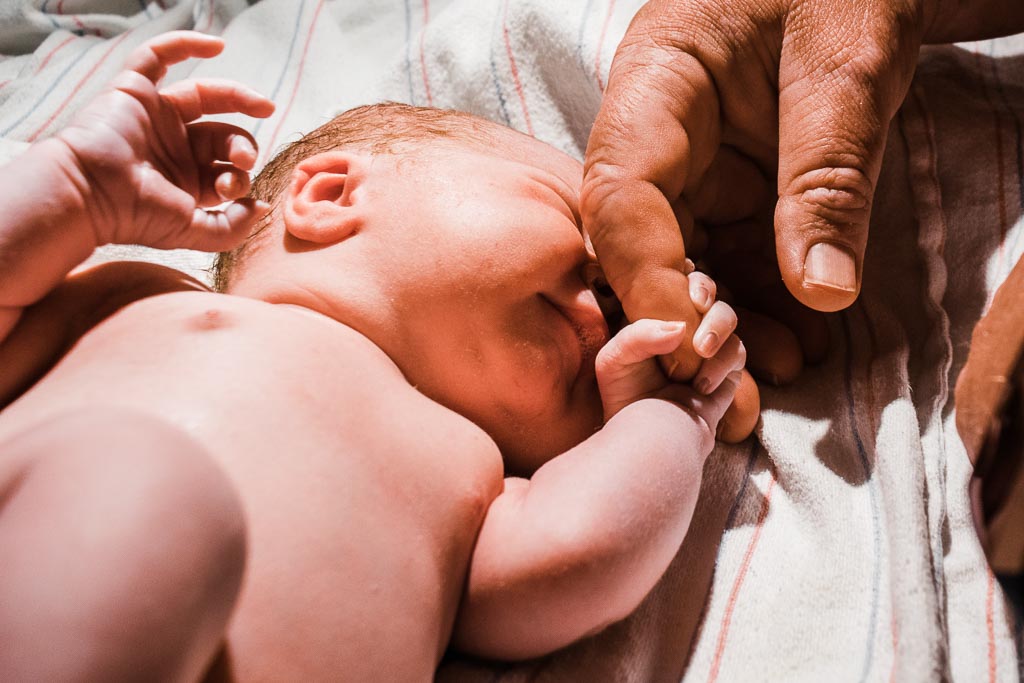
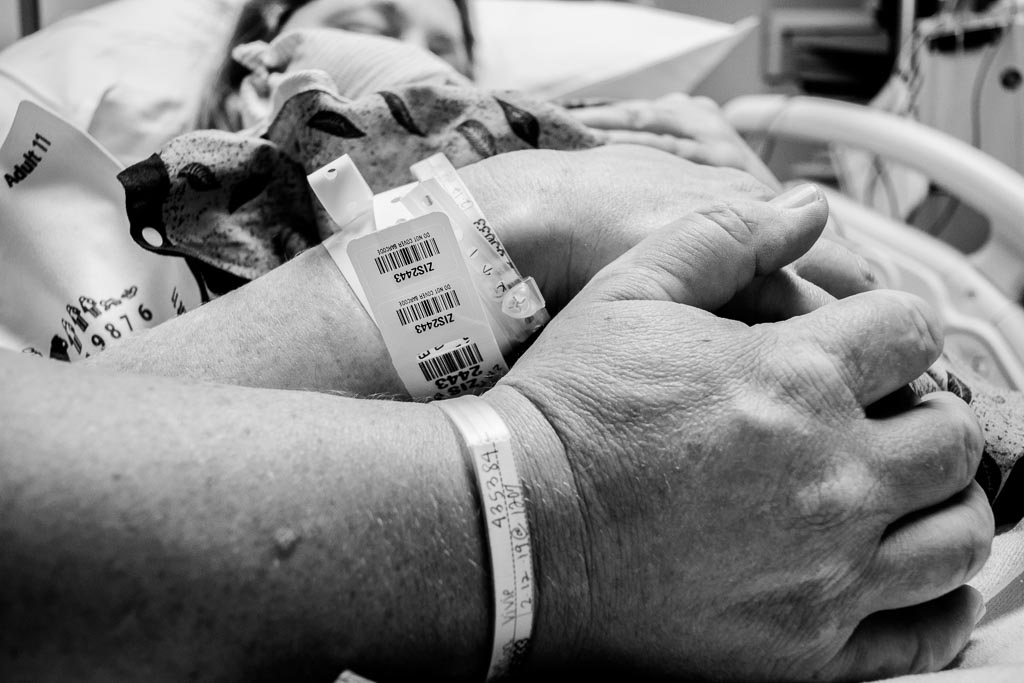
After you’ve set the scene, move in to capture all the little details that make the moment. Grasped hands, ice chips, hospital readouts and sensors, mom’s labor must haves, etc. After you taken a picture from one angle, try moving in closer and reframing to capture the same moment in a whole new way! By breaking up your images with these detail shots you add more depth to the story.
More Tips
Where to stand
Set mom at ease by positioning yourself at the top of the bed above mom’s head when it’s time to push. It will keep mom modest while giving you the perfect angle when baby finally arrives.
Get some inspiration
If you need just a little more inspiration and to see a birth story told from beginning to end take a look at my birth portfolio and this blog post of my own birth story captured by my amazing cousin using these same tips and tricks.
Pinterest is also a great source of inspiration. Please remember the goal here is to get inspiration, not copy. Trust me its harder to copy an image than you’d think because you have no idea what went in to its creation, instead use their final image to inspire your own unique creation and tell the story in your own way.
Don’t forget the baby
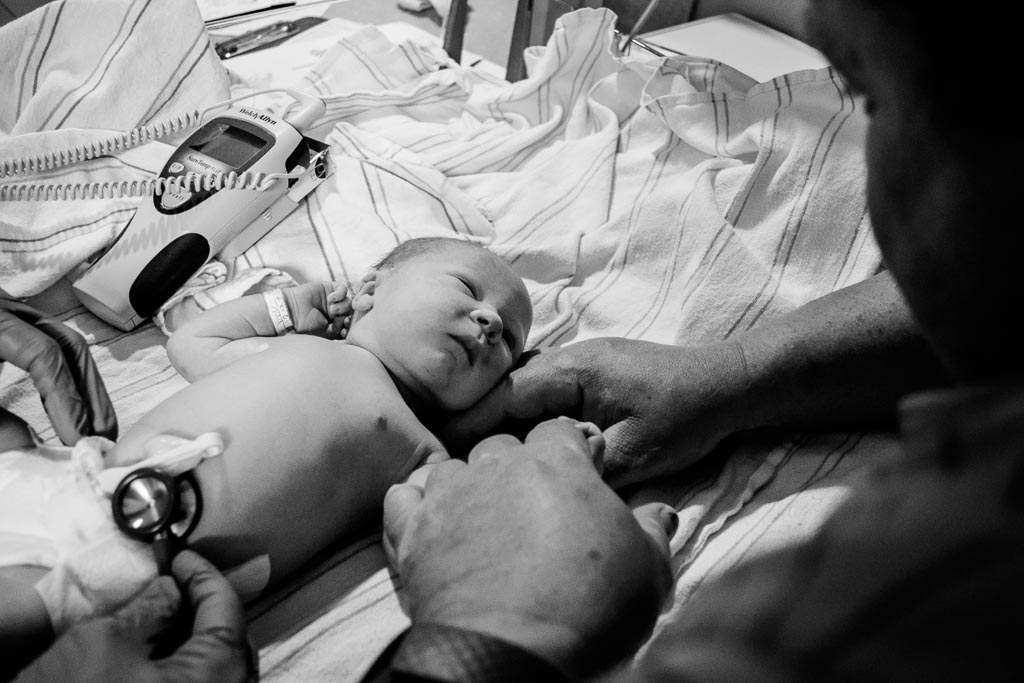
Remember the story doesn’t end with delivery. Those first few moments of baby’s life are EVERYTHING. Capture every moment. Mom’s first meeting, Dad’s first meeting, and all the cute cuddles that are sure to follow.
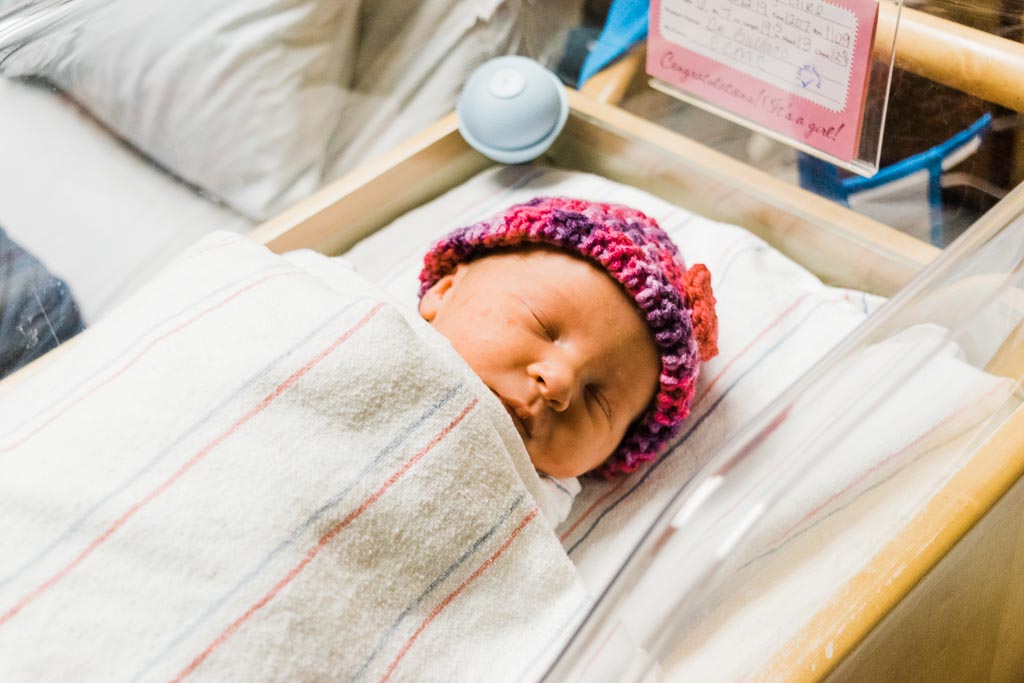
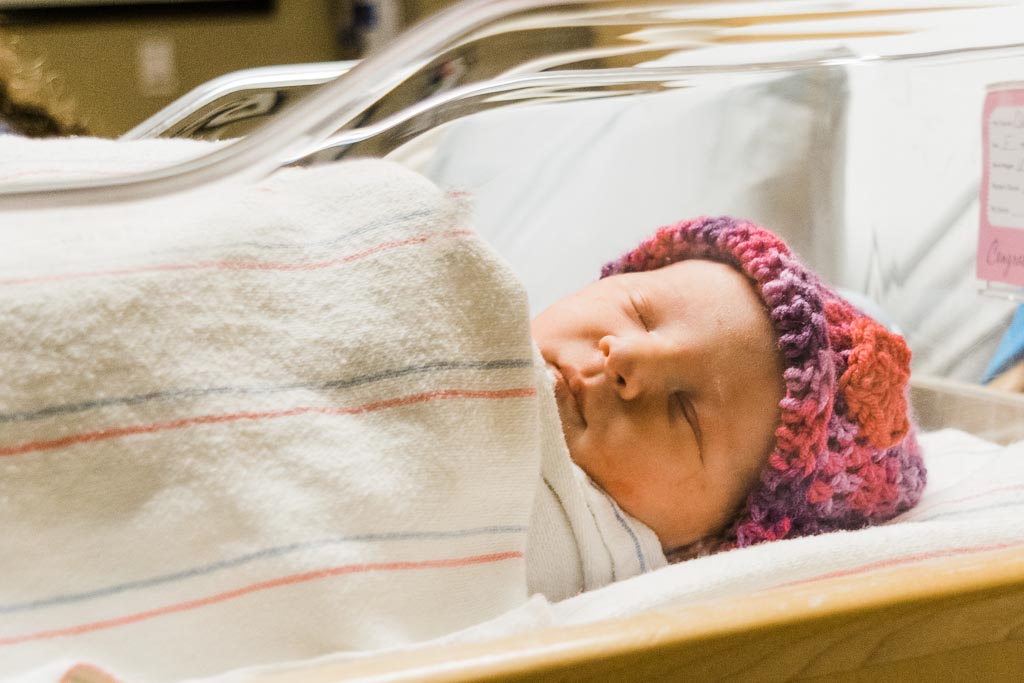
After things quiet down, don’t forget to take baby’s first portrait. Placing baby in the hospital bassinet is a great spot for these. Be careful not to shoot right up baby’s nose, it’s not cute, instead shoot from above for a more flattering angle.
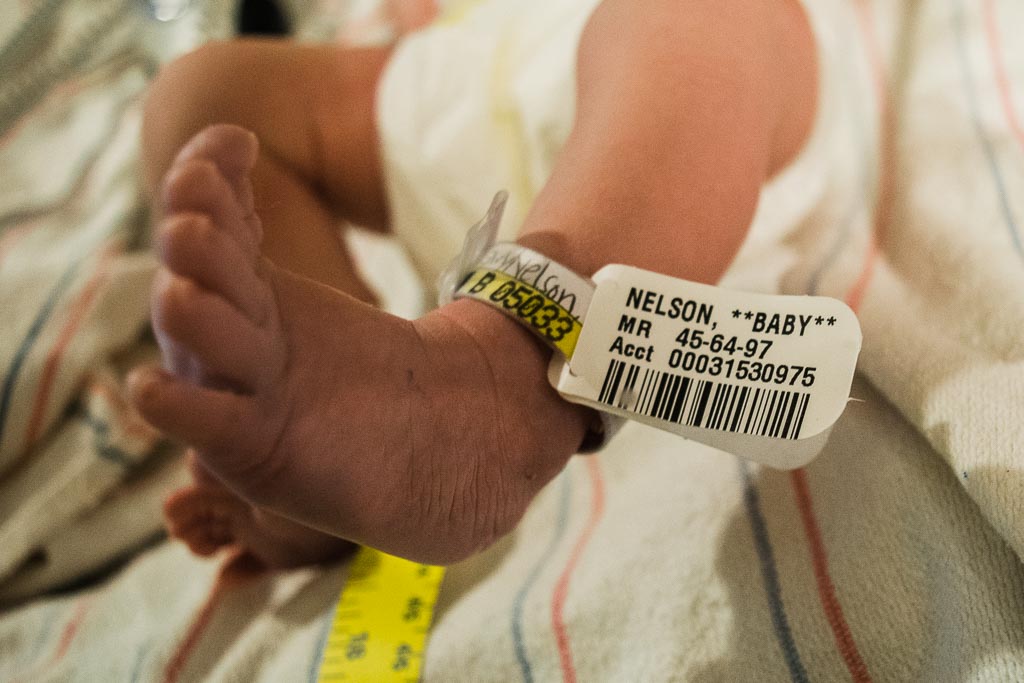
Finally, don’t forget all those scrumptious baby details like fingers and toes.
Editing
Okay, back to what to do with all these RAW image files you’ve just created. I am just going to tell you about the steps and programs I use and you can hit up google for alternative methods.
1. Download & convert
I use Adobe Bridge to download and convert my Canon RAW images into the universal raw format .DNG. Simply download the program, plug in your memory card, and configure the settings like this:
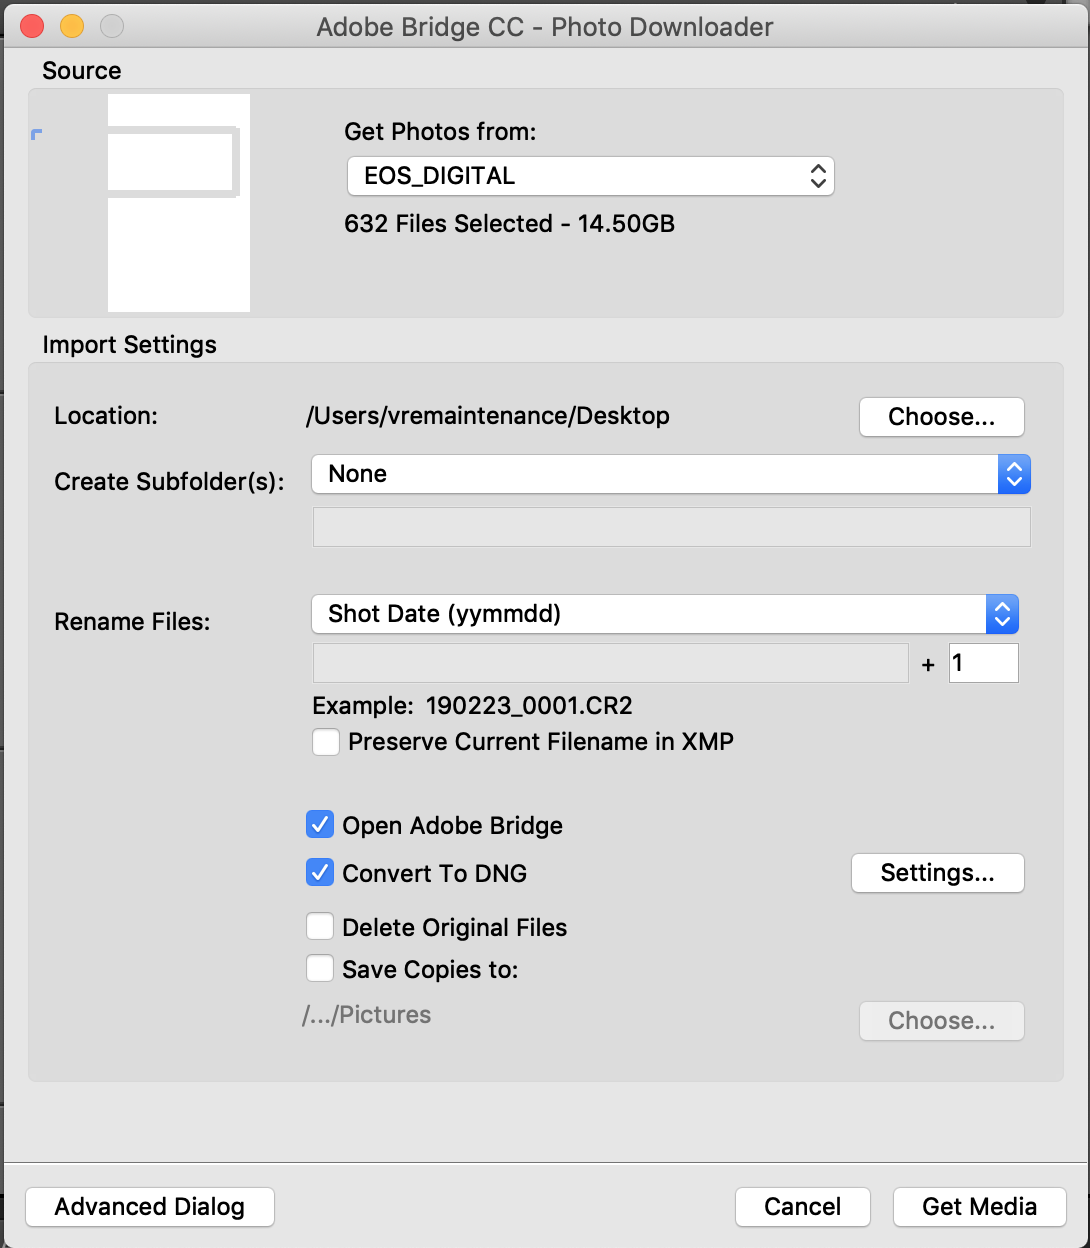
You can rename the files however you want, I choose to use the shot date for all my images because me and my clients will never have to wonder when the picture was taken. It might not be a challenge to remember when its a birth, but with other moments it’s easy to forget exactly when it happened.
The most important thing is to check that box that says “Convert to DNG”. That is what will get the RAW file from your camera converted into a readable format for whatever editing software you choose to use.
2. Sort
After you’ve got your images downloaded it’s time to sort through them and choose which ones make the final cut and will be edited. Look for images that are in focus and speak to you (or tell the story!) and eliminate duplicates.
I usually do this in Adobe Bridge. As I go through the images I can rate them by hitting Command+5 (for a five star rating). Those I rate 5 stars I import into Adobe Lightroom and edit!
3. Edit & Export
Like I said, I use Adobe Lightroom to edit my images. This post isn’t an editing tutorial so I’m not going to go crazy explaining every step I take I’m just going to give you my secret weapon when it comes to DIY birth photography. BLACK & WHITE.
Because of the storytelling aspect of birth photography it lends itself really well to black and white, it removes all the distracting colors (because you can’t color coordinate a hospital room) and bring the focus directly to the unfolding story.
Additionally, it eliminates some of the Ew! factor that can come with blood and other bodily fluids that are inevitable with birth.
Once you’ve edited your images just the way you want them export them as JPGs and share them with the lucky new parents!
Be sure to come back and tell us how it went!
I’d love to work with you! Contact me to book your birth story session! Check out more of my portfolio and stay up to date by following me on Instagram.
